Stop Breathing Solder Fumes! DIY Vent + O-Scope Build (Part 1)
✝️ Foundation
Before we get into the circuits, I want to share something more important than electronics:
Proverbs 3:5-7
King James Version
5 Trust in the Lord with all thine heart; and lean not unto thine own understanding.
6 In all thy ways acknowledge him, and he shall direct thy paths.
7 Be not wise in thine own eyes: fear the Lord, and depart from evil.
Build Circuits With Rich
When soldering, I don’t want to breathe the smoke and fumes coming off the iron and flux. So, in this project, I built a simple ventilation device that pulls solder exhaust away from my work area and sends it outside of the lab.
This is not a fancy commercial fume extractor. It is a simple homemade setup built from a cardboard box, an exhaust fan, ducting, and tape. But it works, and sometimes a simple solution is exactly what you need.
Why I Built This
Soldering fumes are not something I want right in my face while I work. Even if the amount seems small, repeated exposure over time is not a good idea.
So before getting deeper into my oscilloscope kit build, I decided to put together a basic ventilation system to help move those fumes outside.
Watch the Video:
Main Idea
The idea is simple:
- pull the solder smoke into an enclosure
- move that air through an exhaust fan
- send it through ducting
- vent it outside of the lab
This helps keep the air around the bench cleaner while soldering.
Materials Used
- Cardboard box
- Exhaust fan with switch
- Flexible vent hose / duct
- Painter’s tape
- Cutting tool for opening the box
- Mounting hardware or fasteners as needed
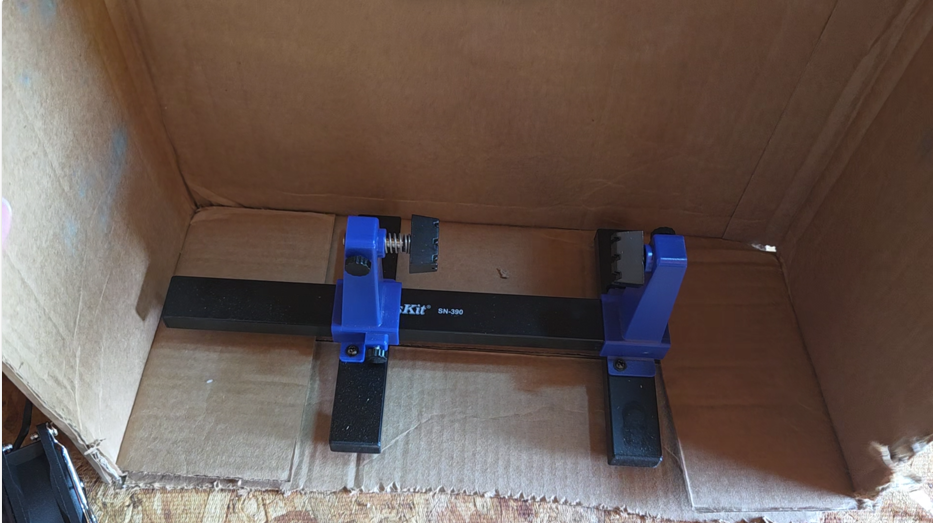
Box Dimensions
The cardboard box I used measured:
- 17 inches long
- 8 inches wide
- 11.5 inches tall
Flap Dimensions
- 4 x 8 inch flaps
- 4 x 17 inch flaps
I folded the top flaps in to improve the appearance and help shape the enclosure.
How I Built It
Step 1: Cut the Box
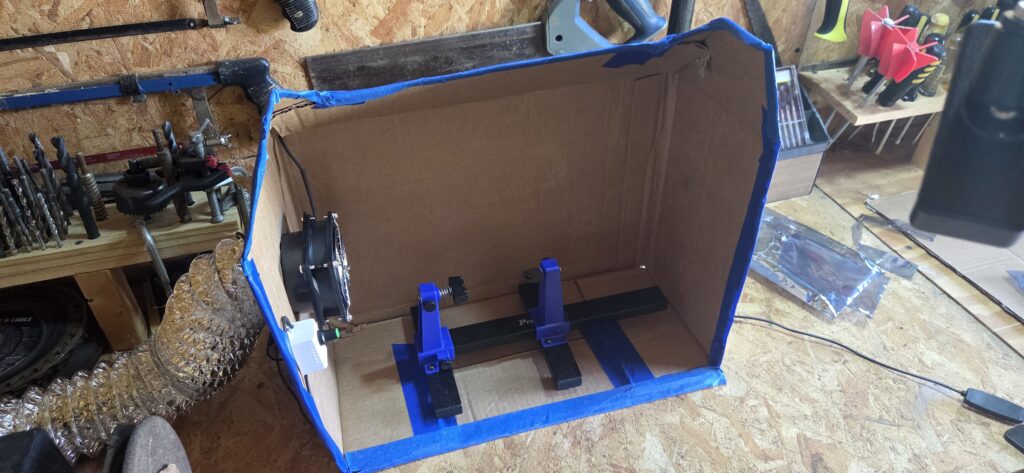
I started with a cardboard box and cut one side open. This open side becomes the intake area where the solder fumes are pulled in.
Step 2: Fold the Top Flaps
Next, I folded the top flaps to clean up the shape of the box and make it look better. This also helps give the enclosure a more finished appearance.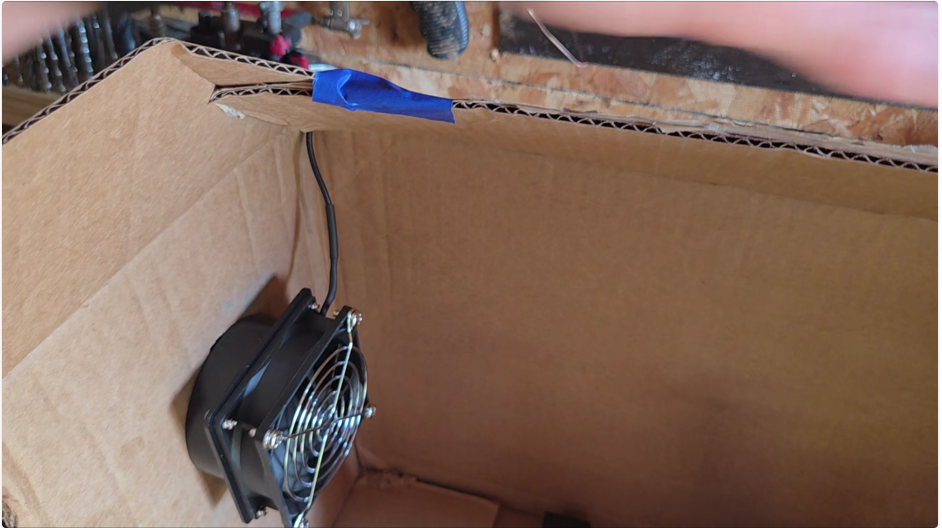
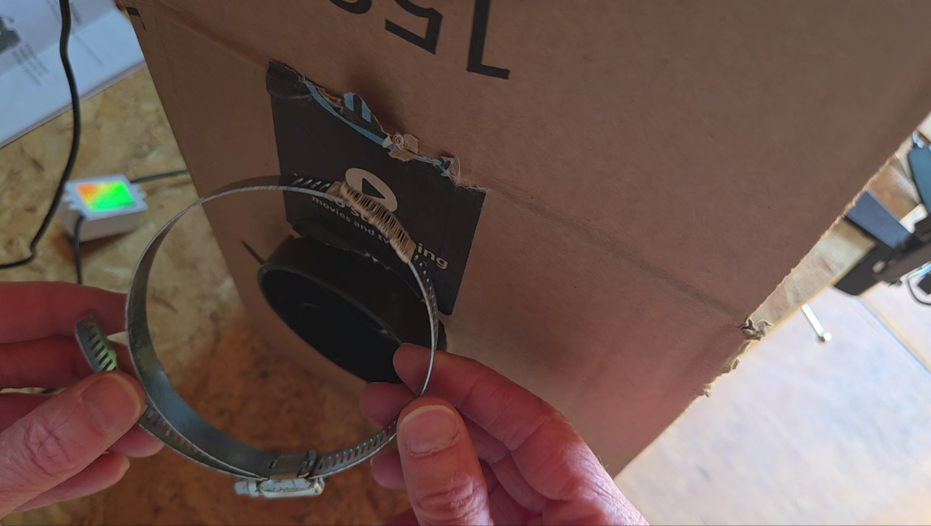
Step 3: Mount the Exhaust Vent
After that, I mounted the exhaust vent and switch assembly to the box. This is the part that does the actual work of pulling air through the enclosure.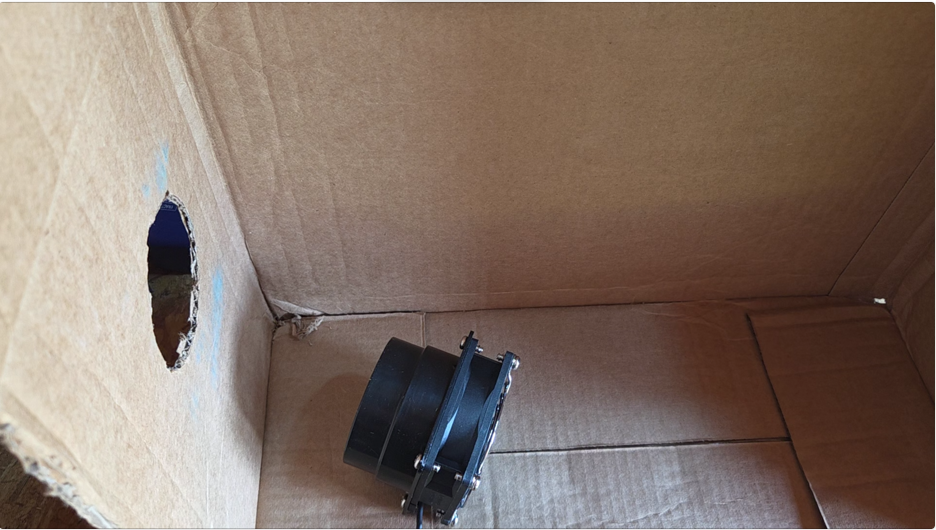
Step 4: Seal the Edges
Once the fan assembly was in place, I used painter’s tape around the edges and seams. This helped secure everything and cut down on air leaks.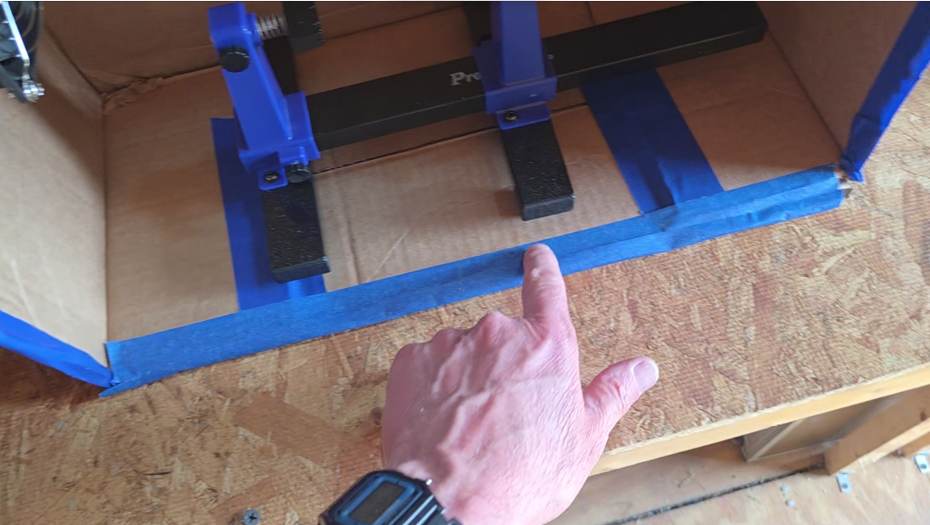
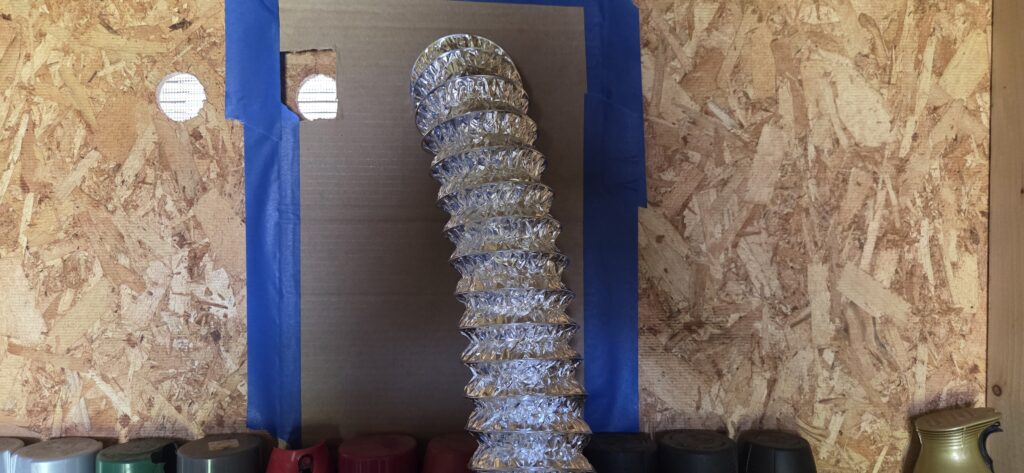
Step 5: Attach the Duct
The flexible duct was attached so the air could be directed outside of the lab.

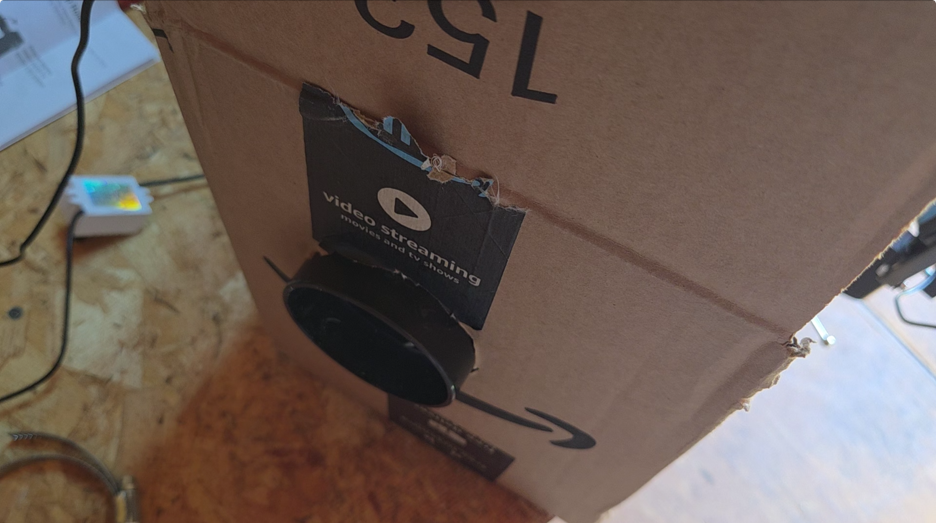
I also mounted the fan speed control knob with very small machine screws: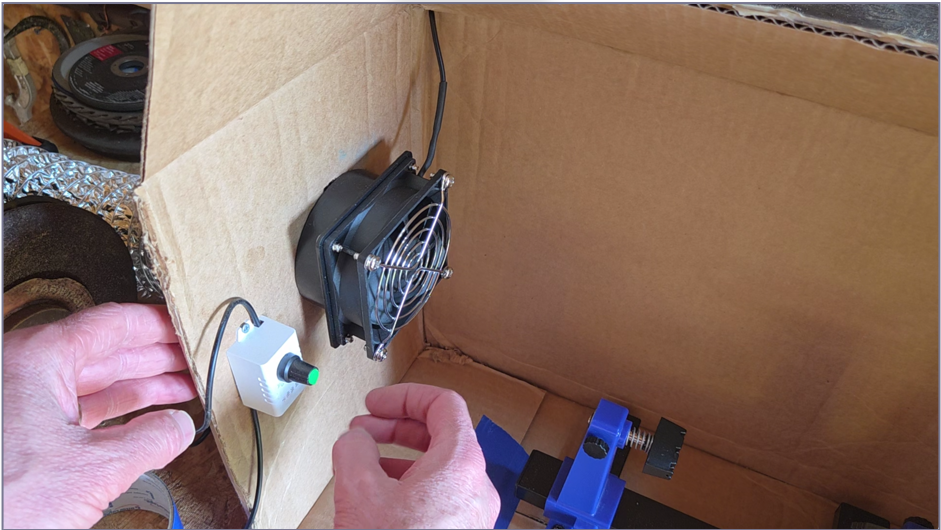
How It Works
When the exhaust fan is turned on, air is pulled into the open side of the box. The solder smoke is drawn away from the work area, through the fan, and then pushed out through the duct.
This creates a simple airflow path that helps move fumes away from the bench.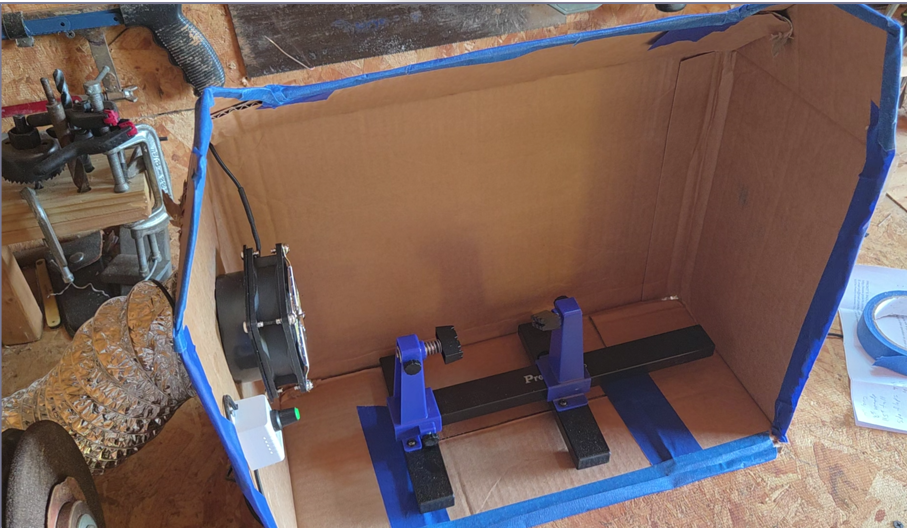
What I Like About This Build
- inexpensive
- simple to make
- uses easy-to-find materials
- helps improve airflow around the soldering bench
- can be customized later
Things to Keep in Mind
This is a homemade ventilation setup, so it is important to use common sense.
- Make sure the fan is blowing in the correct direction
- Keep the setup away from direct heat
- Check that the duct path is not blocked
- Make sure electrical connections are secure
- Do not rely on a homemade setup as a substitute for good general shop safety
- This is just what I am doing. This is only for educational purposes and entertainment. You are responsible for your own particular ventalation setup.
Possible Future Improvements
This project works well as a basic first version, but there are a few possible upgrades for later:
- stronger fan
- improved enclosure material
- better sealing
- speed control for airflow
- more permanent outside vent connection
- filter stage if needed
Final Thoughts
This was a practical project that solved a real problem in my workspace. I wanted a simple way to get solder fumes away from my bench, and this ventilator build gave me a good starting point.
It may not look like a professional lab system, but it is useful, affordable, and built from materials I already had on hand. That is one of the things I enjoy most about electronics and workshop projects: building simple solutions that actually help.
Coming Next
This ventilator build is part of my oscilloscope kit project series. Now that I have a better way to manage solder fumes, the next step is to start assembling and soldering the oscilloscope kit.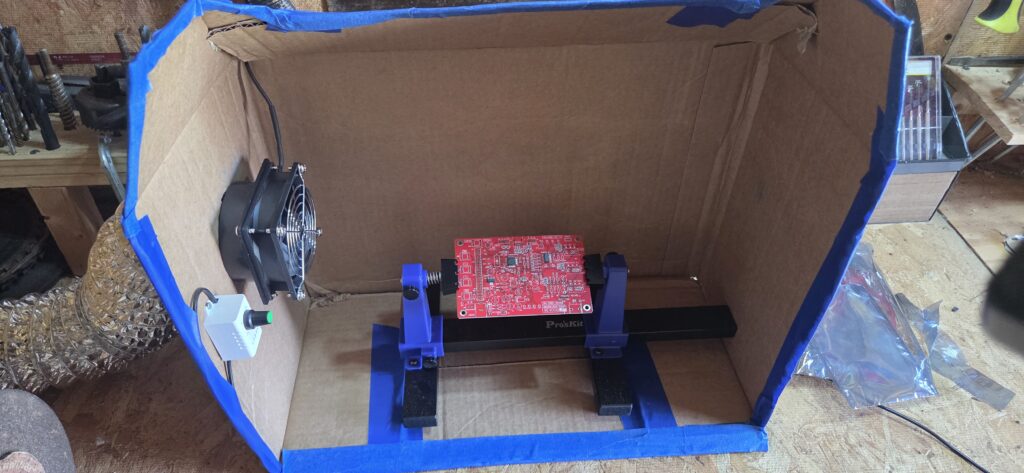
Safety Reminder
These circuits use low voltage, but always double-check your wiring before applying power. A small wiring mistake can still cause confusion, incorrect results, or damaged parts.
Want more electronics lessons?
For more beginner-friendly electronics lessons, circuit walkthroughs, and hands-on breadboard builds, visit:
https://buildcircuitswithrich.com
Prefer video?
Watch full lessons on the Build Circuits With Rich YouTube Channel.
Back To: Videos